自作テーマ制作の第5弾!
今回は投稿ページ、固定ページの作成を作成します。
具体的にはパンくず、タイトル・更新日・公開日・アイキャッチ画像・本文を追加しています。
スターターテーマを使わずに
WordPress自作テーマを制作する
パンくずの作成
まずはヘッダーにパンくずを作成します。
functions.php
functions.phpに以下のコードを追記します。
以下の記事のコードを参考にで、簡易でパンくずを作成しています。

// パンくずリスト
function breadcrumb() {
    $home = '<li><a href="' . get_bloginfo('url') . '">トップ</a></li>';
    echo '<ul class="breadcrumb">';

    // トップページ
    if (is_front_page()) {

        // カテゴリーページ
    } else if (is_category()) {
        $cat = get_queried_object();
        $cat_id = $cat->parent;
        $cat_list = array();
        while ($cat_id != 0) {
            $cat = get_category($cat_id);
            $cat_link = get_category_link($cat_id);
            array_unshift($cat_list, '<li><a href="' . $cat_link . '">' . $cat->name . '</a></li>');
            $cat_id = $cat->parent;
        }
        echo $home;
        foreach ($cat_list as $value) {
            echo $value;
        }
        the_archive_title('<li>', '</li>');

        // アーカイブページ
    } else if (is_archive()) {
        echo $home;
        the_archive_title('<li>', '</li>');

        // 投稿ページ
    } else if (is_single()) {
        $cat = get_the_category();
        if (isset($cat[0]->cat_ID)) $cat_id = $cat[0]->cat_ID;
        $cat_list = array();
        while ($cat_id != 0) {
            $cat = get_category($cat_id);
            $cat_link = get_category_link($cat_id);
            array_unshift($cat_list, '<li><a href="' . $cat_link . '">' . $cat->name . '</a></li>');
            $cat_id = $cat->parent;
        }
        echo $home;
        foreach ($cat_list as $value) {
            echo $value;
        }
        the_title('<li>', '</li>');

        // 固定ページ
    } else if (is_page()) {
        echo $home;
        the_title('<li>', '</li>');

        // 検索結果
    } else if (is_search()) {
        echo $home;
        echo '<li>「' . get_search_query() . '」の検索結果</li>';

        // 404ページ
    } else if (is_404()) {
        echo $home;
        echo '<li>ページが見つかりません</li>';
    }
    echo '</ul>';
}
header.phpにコードを挿入
header.phpのbodyの中に以下のコードを挿入。
    <div class="breadcrumb">
        <?php breadcrumb(); ?>
    </div>
表示の確認
記事ページを開くとパンくずが表示されているのを確認できます。

パンくずの構造化データ
構造化データはあとでまとめて挿入します。
投稿ページの作成
タイトル・更新日・公開日・アイキャッチ画像・本文の表示といった
投稿ページに必要な要素を作成していきます。
テキストファイルにsingle.phpの作成して、下記のコードを挿入しましょう。
<?php get_header(); ?>
<div class="wrap">
    <main id="main-content">
        <?php
        if (have_posts()) :
            while (have_posts()) : the_post();
        ?>
                <h1 class="title"><?php the_title(); ?></h1>
                <div class="date">
                    <div>Release date. <?php the_time('Y/m/d'); ?></div>
                    <div>Last update. <?php the_modified_date('Y/m/d'); ?></div>
                </div>
                <?php
                if (has_post_thumbnail()) {
                    echo '<figure class="thumbnail">' . get_the_post_thumbnail() . '</figure>';
                }
                ?>
                <div class="content">
                    <?php the_content(); ?>
                </div>
        <?php
            endwhile;
        endif;
        ?>
    </main>
</div>
<?php get_footer(); ?>
タイトルを作成
the_title();の関数を使って表示。
<h1 class="title"><?php the_title(); ?></h1>公開日・更新日の作成
the_time('Y/m/d'); とthe_modified_date('Y/m/d');の関数を使って表示。
<div class="date">
    <div>Release date. <?php the_time('Y/m/d'); ?></div>
    <div>Last update. <?php the_modified_date('Y/m/d'); ?></div>
</div>
アイキャッチ画像の作成
functions.phpに下記を記載。
add_theme_support('post-thumbnails');あとはsingle.phpに下記のコードを挿入。
get_the_post_thumbnail();の関数を使って表示。
if (has_post_thumbnail()) {
    echo '<figure class="thumbnail">' . get_the_post_thumbnail() . '</figure>';
}
本文の作成
the_content();の関数を使って表示。
<?php the_content(); ?>Articleの構造化データ
構造化データはあとでまとめて挿入します。
投稿記事の確認
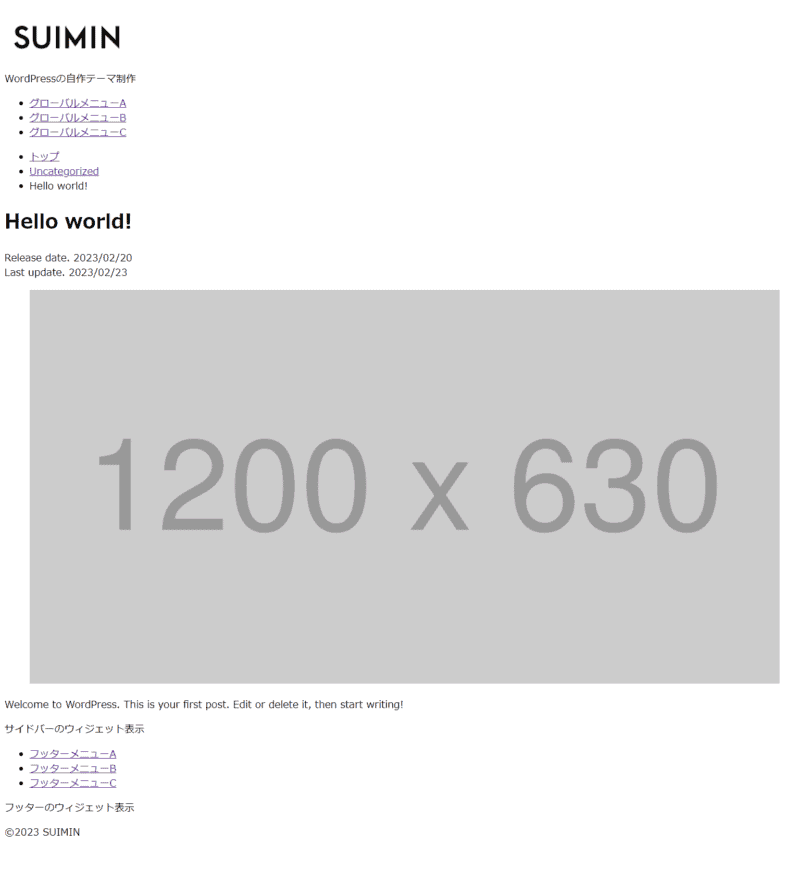
WordPressに最初から投稿されている「Hello world!」の記事を開いて確認します。
アイキャッチ画像(1200px × 630px)も設定しておきましょう。

固定ページの作成
ingle.phpをコピーして、page.phpを作成します。
変更箇所は投稿記事の公開日と更新日の記述部分を削除しただけのものになります。
<?php get_header(); ?>
<div class="wrap">
    <main id="main-content">
        <?php
        if (have_posts()) :
            while (have_posts()) : the_post();
        ?>
                <h1 class="title"><?php the_title(); ?></h1>
                <?php
                if (has_post_thumbnail()) {
                    echo '<figure class="thumbnail">' . get_the_post_thumbnail() . '</figure>';
                }
                ?>
                <div class="content">
                    <?php the_content(); ?>
                </div>
        <?php
            endwhile;
        endif;
        ?>
    </main>
</div>
<?php get_footer(); ?>
固定記事に抜粋文を表示
metaディスクリプション用に固定記事にも抜粋文を表示させます。
// 固定記事に抜粋文を表示
add_post_type_support('page', 'excerpt');
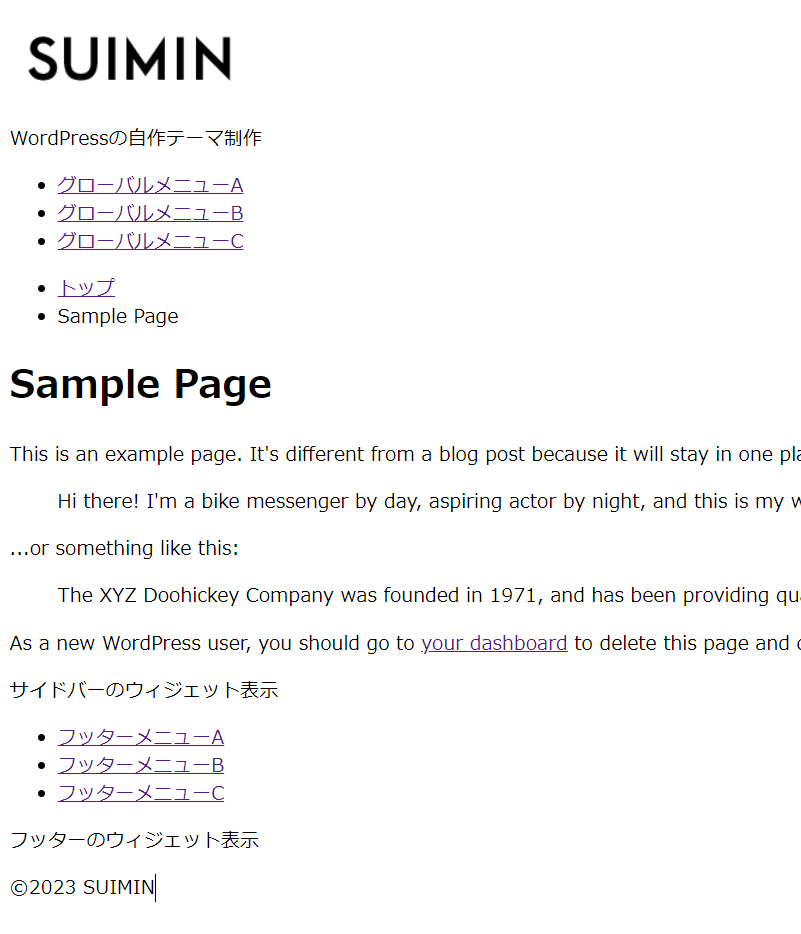
最後にWordPressの最初から用意されているSample Pageを開いて状態を確認してみます。

まとめ
今回は投稿ページと固定ページを作成してみました。
あらかじめ用意されている関数が多いので、それを使うだけですね。


